A product label has a short window to do its job. It may be sitting on a retail shelf, handed to a customer at a trade show, packed into a hotel welcome bag, or photographed for an online listing. A strong guide to custom product labels starts with that reality: the label needs to look on-brand, stay attached, and communicate clearly in the environment where it will be used.
For Las Vegas businesses, timing is often part of the job. A new menu item, promotional product, convention giveaway, or retail package may need to be ready within days, not weeks. Making the right production choices early helps avoid costly reprints, missed event deadlines, and labels that look great on screen but fail in use.
Start With the Product, Not the Artwork
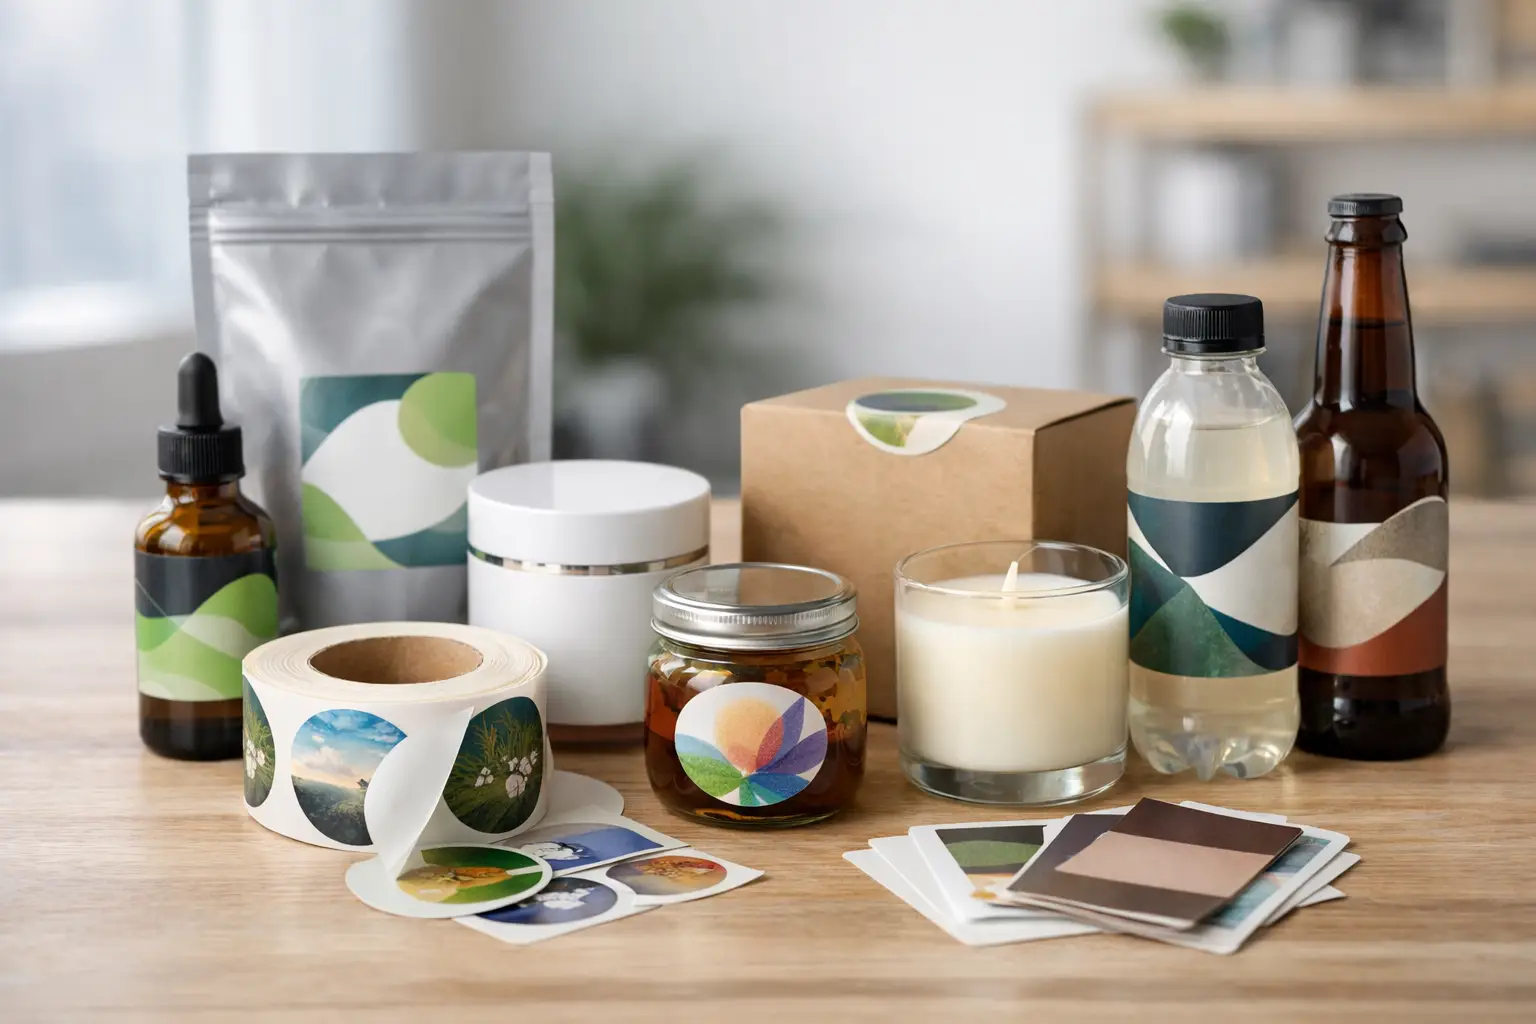
Before choosing a label size or finish, consider the product itself. Is it a glass bottle that will sweat in a refrigerator? A jar of dry goods? A candle tin? A cosmetic tube? A box that will be handled repeatedly in a busy retail setting? The surface, shape, storage conditions, and expected handling all affect the material and adhesive you need.
A paper label can be a practical, polished choice for dry products, boxes, bags, and short-run promotions. It is often cost-effective and works well when the label does not need to resist moisture or heavy wear. For bottles, food containers, bath products, outdoor items, and anything exposed to condensation, oils, or frequent handling, a vinyl or film label is usually the safer choice.
Container shape matters just as much. A flat rectangular label may apply smoothly to a box but wrinkle around a narrow bottle or curved jar. For curved surfaces, a smaller label, more flexible material, or a shape designed around the container can produce a cleaner result. If your package has ridges, seams, or a tapered shape, test-fitting is worth the extra step.
Guide to Custom Product Labels: Make the Key Choices Early
Custom labels involve more than printing a logo on adhesive stock. Size, material, adhesive, finish, and cutting method work together. Choosing them as one production plan prevents surprises later.
Choose a Size That Fits the Package and the Message
Measure the usable area of the package rather than estimating from a product photo. Leave room around edges, curves, caps, seams, and folds. If the label wraps around a container, measure the full circumference and allow a small gap or overlap based on the intended look.
Then look at the information the label must carry. Product names, flavors, instructions, ingredients, warnings, barcodes, contact information, and promotional messaging all need breathing room. A label becomes difficult to read when too much information is forced into a small space.
For a primary retail label, the product name and brand should be easy to identify from a short distance. Supporting details can be smaller, but they should remain legible in print. If you need a large amount of required information, consider using a front label for branding and a back label for details instead of overcrowding one design.
Match the Material to Real-World Conditions
Paper labels provide a classic look and suit many indoor applications. They can work especially well for bakery boxes, coffee bags, gift packaging, promotional seals, and short-term retail campaigns. Textured paper can add a premium feel, although fine details and small type need careful testing on textured surfaces.
Vinyl and other film-based materials are more durable for products exposed to moisture, refrigeration, spills, and regular handling. They are often the better fit for beverage bottles, body care products, cleaning supplies, and event items that may travel in bags or coolers.
There is a trade-off. Durable materials and protective finishes typically cost more than basic paper labels, but they can prevent scuffing, peeling, and replacement costs. For a limited event run that will be used indoors for one day, a simpler stock may be enough. For a product intended to remain on a shelf or in a customer’s home for months, durability deserves priority.
Select the Right Adhesive
The best-looking label still fails if it lifts at the corners or slides off the container. Adhesives should be selected based on the package surface and the temperature range it will experience.
Standard permanent adhesive is suitable for many clean, dry surfaces. Refrigerated products may require an adhesive designed for cold temperatures or application before chilling. Rough cardboard, low-energy plastics, waxy surfaces, and containers exposed to oil can require more specialized options.
Application conditions matter, too. Labels applied to dusty, damp, or cold containers may not bond properly, even if the material is appropriate. Whenever possible, apply labels to clean, dry packaging at the recommended temperature. If your product will face unusual conditions, provide a sample container before committing to a full run.
Pick a Finish That Supports the Brand
Gloss finishes make colors appear more vibrant and can help protect labels from light scuffing and moisture. They are a strong choice for colorful consumer products, beverage labels, and promotional packaging that needs visual impact.
Matte finishes create a more understated, premium appearance and are often easier to read under bright retail or convention lighting. They work well for wellness brands, specialty foods, luxury goods, and designs with a minimalist look. Matte can show scratches more readily than gloss in some high-contact uses, so consider how frequently the product will be handled.
Clear labels can create a modern no-label look on glass or smooth plastic. They work best when the container contents and background support the design. White ink may be necessary behind colored artwork to keep it from appearing transparent or muted. That production detail should be planned at the design stage, not after files are submitted.
Build Artwork for Print, Not Just for a Screen
A label design can look sharp on a laptop and still produce disappointing results if the file is not set up correctly. Use high-resolution images, ideally 300 dpi at final print size. Keep logos and graphics in vector format when possible so edges remain crisp at any scale.
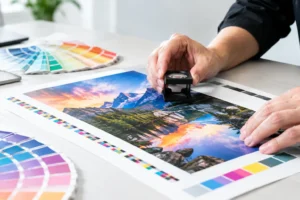
Set artwork in CMYK color mode for print production. RGB colors can shift when converted, especially bright blues, greens, and neon-like shades. If exact brand color is critical, discuss color matching before production, particularly for repeat orders, branded retail packaging, or products displayed alongside other marketing materials.
Include bleed beyond the finished cut line so background colors and images extend fully to the edge. Keep text, barcodes, and important logos inside a safe margin. Small details near the cut edge can feel cramped or be trimmed too closely during finishing.
Barcodes deserve special attention. They need sufficient contrast, a clear quiet zone around them, and a size that scans reliably. Decorative effects, dark backgrounds, or metallic finishes can interfere with readability. Test a printed barcode with the scanning system you expect customers or retailers to use.
Make Required Information Easy to Find
Product labels often need to carry more than branding. Depending on the product category, you may need ingredient lists, nutrition facts, allergen statements, net contents, warning language, manufacturer information, batch details, directions, or other regulated content.
Requirements vary by product and distribution channel, so confirm what applies to your business before printing. A label printer can help you prepare a production-ready layout, but product compliance language should be verified by the business owner or the appropriate professional. Leaving required details until the final proof stage is one of the most common causes of rushed redesigns.
Use a clear hierarchy. Customers should find the product name first, then the key benefit or flavor, followed by the practical details. Small type may be necessary for legal copy, but it should not become so small that it is difficult to read in normal use.
Plan for Proofing, Quantities, and Rush Deadlines
Proofing is the point where small errors are least expensive to fix. Check spelling, phone numbers, web addresses, product variations, barcode numbers, flavor names, and quantity statements. Review the file at actual size, not only zoomed in on a monitor. What looks spacious at 200 percent can feel crowded on a two-inch label.
When ordering quantities, think beyond the immediate launch. Include samples for photography, damaged-label replacement, staff use, retail outreach, and future product shipments. Reordering a small amount later can cost more per label than adding a reasonable buffer to the original run.
For a rush job, provide the final label size, quantity, container material, artwork, and required deadline upfront. Clear specifications allow the production team to confirm the best material and finishing path quickly. If the job is tied to a convention, product launch, or promotional event, build in time for proof approval and application rather than scheduling delivery at the last possible hour.
Design One Printing can help Las Vegas businesses move from label concept to production with practical material guidance, print-ready file support, and responsive turnaround for time-sensitive packaging needs.
A well-planned label makes the product easier to trust before anyone opens the package. Bring a container sample, a clear deadline, and a complete list of what the label must communicate, and the final piece will be far more likely to look right, apply cleanly, and hold up where your customers see it.