A business card with a thin white strip along one edge, a flyer with a cropped phone number, or a trade show graphic that loses part of its background at the frame can make an otherwise strong design look unfinished. Correct print bleed settings prevent those problems before production begins. They are a small setup detail with a major effect on how polished your printed materials look.
For Las Vegas businesses, exhibitors, and event teams working against a deadline, bleed is not an optional technical preference. It is part of preparing a file that can move into production quickly and deliver the full-color, edge-to-edge result you approved.
What Print Bleed Settings Actually Do
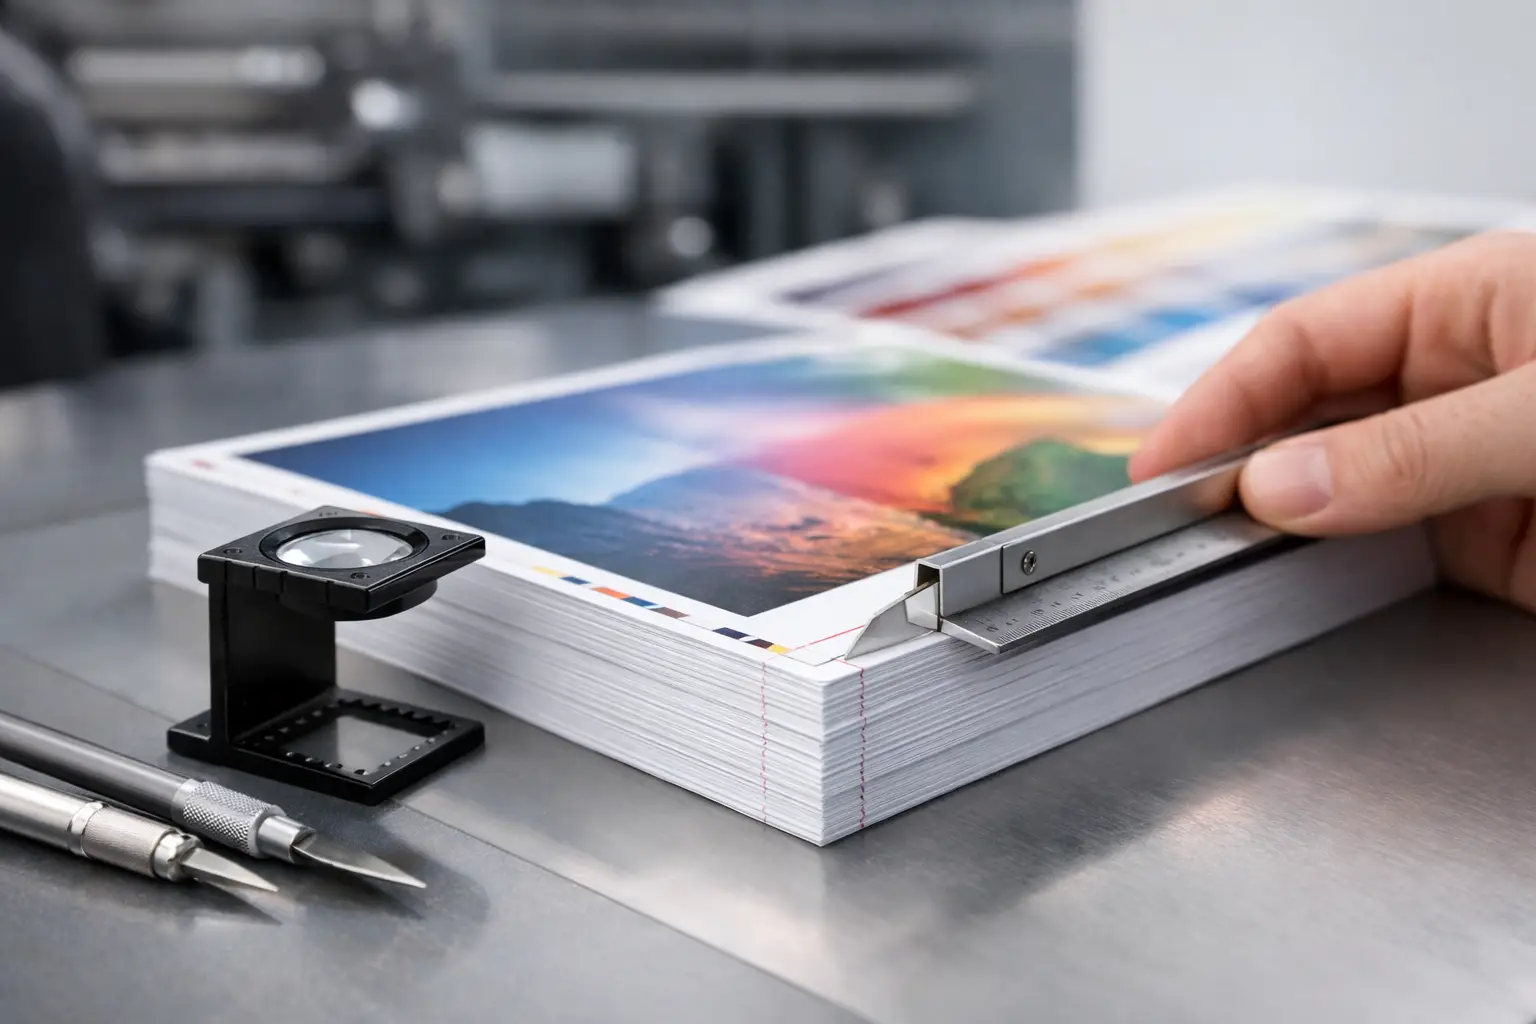
Bleed is extra image or background area that extends beyond the final trim size of a printed piece. After printing, the piece is cut down to its finished dimensions. That extra area gives the cutter room for normal, minute variations during trimming.
Commercial trimming is highly accurate, but no cutting process can promise a perfectly identical cut on every sheet down to a fraction of a millimeter. If a color background, photo, pattern, or graphic stops exactly at the trim line, even a very slight shift can leave an unprinted white edge. Extending that artwork past the trim line removes the risk.
Think of the trim line as the finished edge of the brochure, postcard, business card, or flyer. The bleed sits outside that line and will be cut away. It is not extra visible space and should not contain essential text, logos, QR codes, addresses, or product details.
Standard Bleed Settings for Most Print Jobs
For most commercial marketing materials, the standard bleed is 0.125 inches, or one-eighth inch, on every side. A standard 3.5 x 2 inch business card with bleed should therefore be built at 3.75 x 2.25 inches. Its final, trimmed size remains 3.5 x 2 inches.
The same principle applies across common products. An 8.5 x 11 inch flyer with full-color artwork to the edge should be supplied at 8.75 x 11.25 inches. A 4 x 6 inch postcard should be 4.25 x 6.25 inches when bleed is included.
Some products and finishing methods require different specifications. Large-format banners may use a different setup because hems, pole pockets, grommets, or finishing allowances affect the visible area. Folded brochures need attention to panel sizes, folds, and bleed around the outside edges. Packaging, labels, die-cut stickers, and unusual shapes often require a template or custom production guidance.
When the job is nonstandard, asking for specifications before finalizing your design is faster than rebuilding the file after submission. That is especially true for convention graphics and rush materials, where every revision can put pressure on the production schedule.
Bleed Is Not the Same as a Safe Area
Bleed and safe area solve two different problems. Bleed protects artwork that should run off the edge. The safe area protects important content that must remain visible after trimming.
Keep text, logos, QR codes, contact information, and critical parts of photos at least 0.125 inches inside the final trim line. For small pieces such as business cards, adding a little more breathing room often improves both readability and visual balance. A logo placed too close to the edge may technically survive the cut but still look cramped.
A simple way to review your file is to look for three zones: the outer bleed area, the final trim line, and the inner safe area. Background colors and edge-to-edge images should extend into the bleed. Important information should stay comfortably within the safe area.
When You Need Bleed and When You Do Not
You need bleed whenever any printed element touches the final edge of the piece. That includes a solid color background, a full-page photo, a border, a gradient, or a graphic shape that reaches the edge.
If your design has a white border all the way around and all artwork stays well inside it, bleed may not be necessary. Still, the border must be wide enough to tolerate normal trimming variation. Very thin borders are risky because a small shift can make one side look noticeably thicker than another.
This is why borders are often more demanding than full-bleed backgrounds. A full-bleed color gives the cutter room to work. A narrow border makes any minor trim variation visible. If a precise border is central to the design, consider making it wider or moving it farther from the edge.
How to Set Up Bleed in Common Design Software
Most professional design programs let you add bleed when you create the document or export the final PDF. The exact menu labels vary, but the workflow is consistent: enter the finished trim size, set the bleed to 0.125 inches on all sides, and extend edge artwork to the bleed guides.
In Adobe InDesign and Illustrator, set the bleed in the document setup or new-document window. In Adobe Photoshop, increase the canvas size to include the bleed or build the file at the full bleed dimensions from the start. For example, a 5 x 7 inch postcard becomes 5.25 x 7.25 inches.
Canva and similar online tools can export files with crop marks and bleed when the feature is available. Before sending the file, open the exported PDF and confirm that the artwork truly extends beyond the trim marks. Do not assume a bleed option fixes a design where the background was not stretched to the outer edge.
For print-ready PDF files, crop marks can be helpful when requested, but they are not a substitute for bleed. The PDF must include both the extra artwork area and clear document dimensions. Exporting at high resolution is also essential for photo-based pieces. A file with correct bleed but low-resolution images can still print poorly.
Common File Problems That Delay Production
The most common issue is creating a design at the final size without extending the background. Another is adding bleed dimensions but leaving white or transparent space outside the trim line. Both setups can create unwanted edges after cutting.
Other frequent problems include placing text in the bleed area, using a hairline border near the edge, and submitting a folded piece without accounting for the fold. A tri-fold brochure, for example, is not always divided into three identical panels. The inside fold panel may need to be slightly narrower so the brochure closes correctly.
Be careful with images near the edge as well. Extending a photo into bleed works well only if the area being trimmed is nonessential. Do not let a person’s face, a product label, or a key visual detail sit on the trim line. A small crop variation can become obvious.
Print Bleed Settings for Signs and Event Graphics
Bleed matters beyond paper marketing pieces. Posters, window graphics, mounted signs, and trade show materials can also require extra image area, though the amount depends on the finished product and installation method.
A poster trimmed to size generally benefits from bleed if the design reaches the edge. A retractable banner stand needs a different kind of planning: important content must stay out of the bottom section that rolls into the base, and the visible safe area matters more than a standard business-card-style bleed. Wall graphics, foam board signs, and fabric displays may have custom finishing tolerances.
For a booth graphic or last-minute event sign, provide the intended finished size and explain where it will be installed. That allows the production team to confirm the correct visible area, resolution, bleed, and finishing requirements before the job goes to press.
A Final Pre-Press Check Before You Send Your File
Before approving a print file, confirm the finished size, bleed dimensions, and safe area. Make sure backgrounds reach past the trim line, essential content stays inside the safe area, and photos are sharp at the final printed size. Review the PDF at 100 percent zoom and look closely at every edge.
If the file is being used for a rush order, send it as early as possible and identify the required completion time. A quick preflight review can catch a missing bleed or misplaced logo before it becomes a production problem. Design One Printing can help verify specifications for business collateral, event graphics, and custom pieces when timing matters.
The best printed pieces look intentional right to the edge. Set up bleed before you design, not after, and your file will be ready for a cleaner cut, a faster production path, and a stronger first impression.