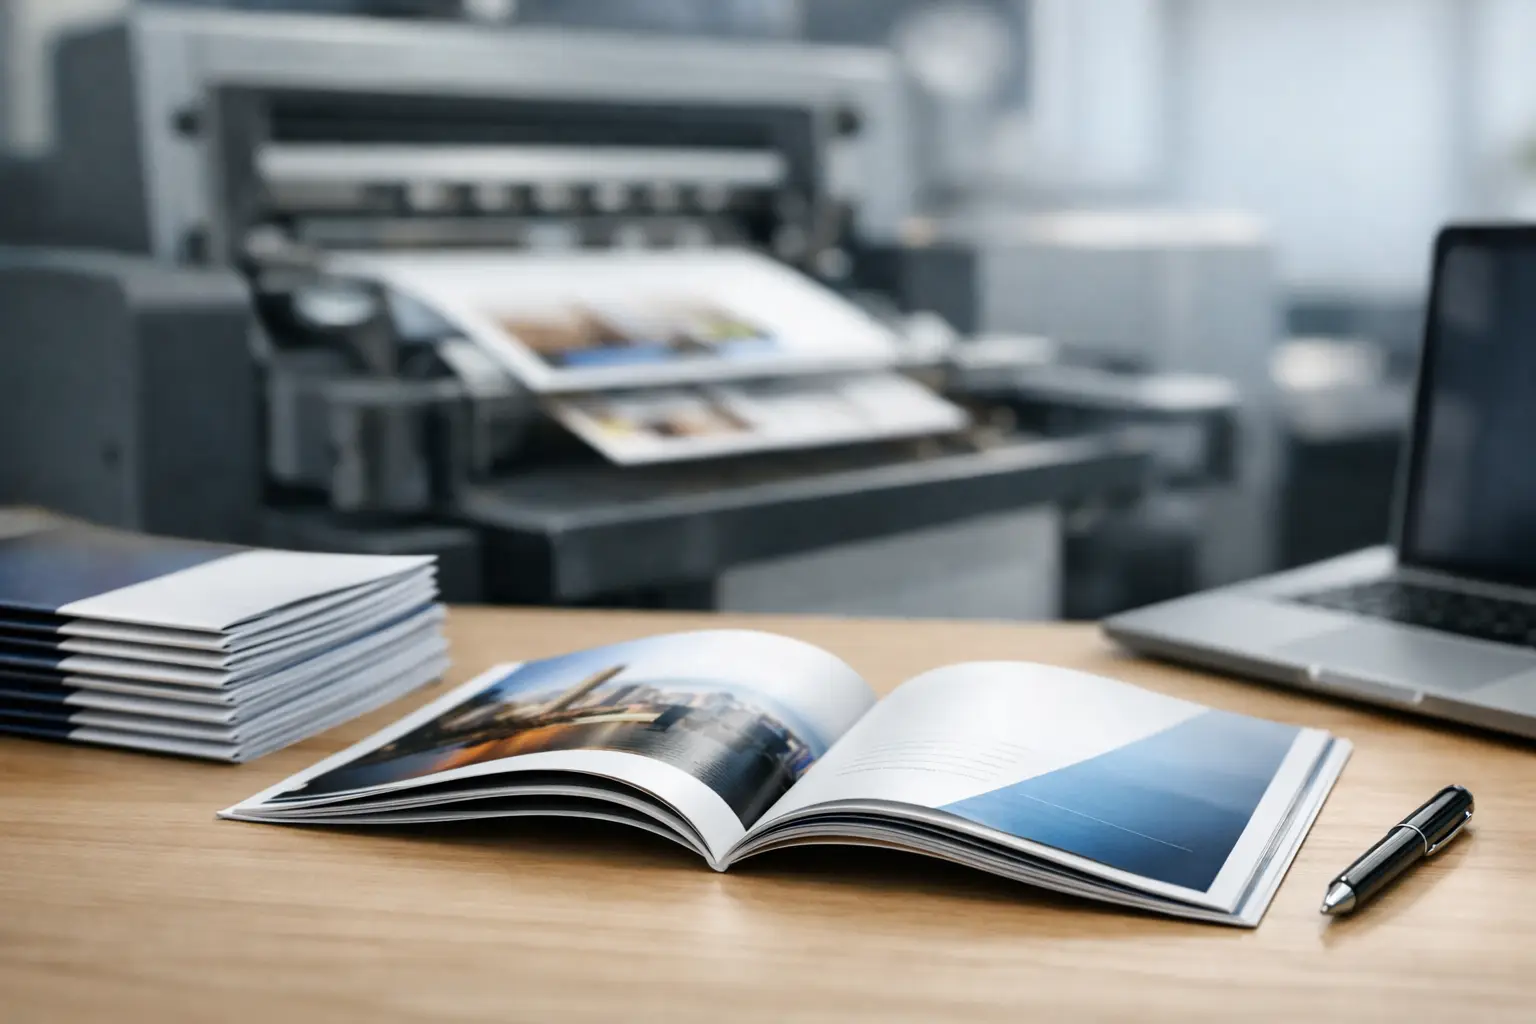
A booklet can do more work than a flyer without asking your audience to hunt for details. It can introduce your company, explain a service, present a product line, support a sales meeting, or give convention visitors something useful to take home. This guide to booklet printing is built for businesses that need that piece to look polished, read clearly, and arrive on time.
For Las Vegas exhibitors, hospitality businesses, local organizations, and growing brands, the best booklet is rarely the one with the most pages or the heaviest paper. It is the one that gives the reader the right information in the right order and holds up in busy hands.
Start With the Job the Booklet Must Do
Before choosing paper or binding, decide what success looks like. A 12-page product catalog, a 20-page event program, and a compact training handbook may all be called booklets, but they need different production choices.
A sales booklet should make it easy for a prospect to understand what you offer and what to do next. Put the strongest benefit on the cover, organize services or products into clear sections, and repeat your contact information where it is easy to find. For a convention handout, readers may only give you a minute at the booth. Use short copy, strong visuals, and a simple next step such as scheduling a meeting, visiting a location, or scanning a QR code.
Programs and guides need a different approach. Their priority is navigation. A clear schedule, speaker names, room details, maps, and sponsor information should be easy to scan. If the booklet will be carried throughout an event, choose a practical size and durable stock rather than adding pages that create bulk.
Choose the Right Size and Page Count
The most common booklet sizes are 8.5 x 11 inches, 5.5 x 8.5 inches, and square formats. Letter-size booklets offer generous space for photos, charts, and detailed service descriptions. Half-letter booklets are easy to hand out, pack in a bag, or place at a reception desk. Square formats can feel more premium for lookbooks, menus, or brand-focused pieces, though they may require a more customized production plan.
Page count is not just a content decision. Most folded booklet formats require pages in multiples of four. That is because a printed sheet creates four pages once it is printed on both sides, folded, and trimmed. A booklet with 12, 16, 20, or 24 pages fits this structure naturally. If your draft comes to 14 pages, you may need to add two pages, remove content, or change the format.
Leave room for the cover, inside cover, and back cover early in the design process. These pages are valuable real estate. The back cover is often the right place for contact details, social handles, a call to action, or a short brand statement.
Keep content and page count in balance
Adding pages can reduce crowding, but it also affects cost, turnaround, and binding options. On a tight deadline, a concise 12-page booklet with strong editing usually performs better than a rushed 28-page piece filled with small type. If you have a large amount of technical information, consider whether a shorter printed overview paired with a digital resource makes more sense.
Pick a Binding That Fits the Use Case
Binding determines how the booklet opens, how long it lasts, and how professional it feels. Saddle stitching is the most common choice for smaller booklets. Pages are folded together and secured with staples along the spine. It is efficient, cost-effective, and well suited to event programs, brochures, product sheets, and company overviews.
Perfect binding uses glue along a flat spine and works well for thicker booklets, catalogs, manuals, and reports. It creates a more substantial, book-like appearance and gives you a printable spine. The trade-off is that it typically needs more pages and may require additional production time than saddle stitching.
Coil binding is practical when a booklet must lie flat or fold back on itself. Training manuals, price books, workbooks, and reference guides benefit from this format. It is not always the best option for a polished promotional mailer, but it is excellent for materials that people will write in or consult repeatedly.
If the booklet is intended for a high-volume handout at a trade show, saddle stitching is often the best balance of speed, cost, and appearance. If it will stay on a prospect’s desk as a detailed capabilities book, perfect binding may better support the presentation.
Paper Choices That Support Your Brand
Paper is part of the message. A heavier cover stock helps a booklet feel durable and established. Interior pages can be lighter to keep the finished piece manageable and cost-conscious. A common approach is a heavier cover with lighter text-weight inside pages, but the right combination depends on your design and distribution plan.
Gloss paper makes photography and color graphics stand out. It works well for product catalogs, real estate materials, restaurant promotions, and image-driven event pieces. Matte or uncoated paper creates a more understated finish and is easier to write on, making it useful for programs, workbooks, nonprofit materials, and informational guides.
Do not select paper by appearance alone. Consider lighting, fingerprints, shipping, and how often the booklet will be handled. A dark, full-coverage cover may look sharp in a proof but show scuffs after a long convention day. A printer can recommend practical stock options that protect the look of the finished piece without pushing the project beyond budget or deadline.
Prepare Files Correctly Before Printing
A good design can still produce disappointing results if the file setup is incomplete. Build the document at final trim size and include bleed when color, photos, or graphics run to the edge of a page. Bleed gives the printer extra image area for trimming, preventing thin white lines around the finished edge.
Keep important text, logos, page numbers, and contact information inside a safe margin. This matters especially near folded spines, trimmed edges, and coil-punched areas. Small type placed too close to the edge can become difficult to read or may be trimmed away.
Use high-resolution images. Photos pulled from websites or screenshots often look acceptable on a monitor but can print soft or pixelated. For commercial printing, images should generally be prepared at 300 dpi at their final printed size. Use CMYK color settings when possible, because RGB colors from screens can shift when reproduced in ink or toner.
Export a press-ready PDF with fonts embedded or outlined. Review every page before sending it, including blank pages, page numbers, phone numbers, URLs, and QR codes. A single incorrect digit in a phone number can make a costly booklet less useful than a simple flyer.
Ask for help before the clock is running out
If your file is not ready, involve your print partner early. A quick preflight review can catch low-resolution images, missing bleeds, mismatched page sizes, and binding issues before production begins. Design One Printing can also help businesses that need layout adjustments or production-minded design support for a rush booklet project.
Plan for Turnaround Without Sacrificing Quality
Rush printing is possible, but the fastest path starts with clear decisions. Have your final page count, quantity, size, binding preference, and delivery or pickup deadline ready when requesting a quote. If the deadline is tied to a convention move-in, sales presentation, or event registration window, communicate the actual time the booklets must be in hand, not just the event date.
Quantity affects production as well. A small run for a meeting may be completed faster than a large run for a citywide campaign. Specialty papers, custom sizes, coatings, and more complex bindings can also extend the schedule. That does not mean avoiding premium choices. It means making those choices early enough to protect your deadline.
Proofing is where many rush projects lose time. Review the proof carefully, gather approvals from the right people, and provide one clear set of final changes. Multiple late revisions can create delays and introduce errors. When timing is tight, a decisive approval process is as valuable as fast equipment.
Make the Finished Booklet Easy to Use
The strongest booklets guide readers from cover to action. Use a clear cover headline, consistent section headings, readable type, and enough white space to let key information breathe. Avoid shrinking text just to fit one more paragraph. If a reader cannot scan the page quickly, the information may as well not be there.
For business and event use, include a direct next step near the front and again near the end. That may be a phone number, email address, website, booth location, appointment prompt, or offer code. Test QR codes at the printed size you plan to use, and give them breathing room so they scan reliably.
A well-planned booklet does not need to be complicated. Give it a clear purpose, choose production details that match how it will be used, and allow enough time for a real proof review. When the doors open or the meeting begins, you will have a piece your team is confident to put in someone’s hands.