A full-color flyer can look perfect on screen and still come back from the press with an unwanted white sliver along the edge. That usually happens when the file has no bleed. So, what are bleed margins? They are extra image or background area added beyond the final cut size of a printed piece, giving the cutter room to trim accurately without exposing an unprinted edge.
For Las Vegas businesses preparing event handouts, restaurant menus, postcards, booth graphics, or last-minute sales materials, bleed is a small setup detail with a major effect on presentation. It helps finished pieces look intentional, polished, and ready to represent your brand.
What Are Bleed Margins in Printing?
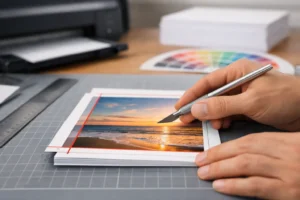
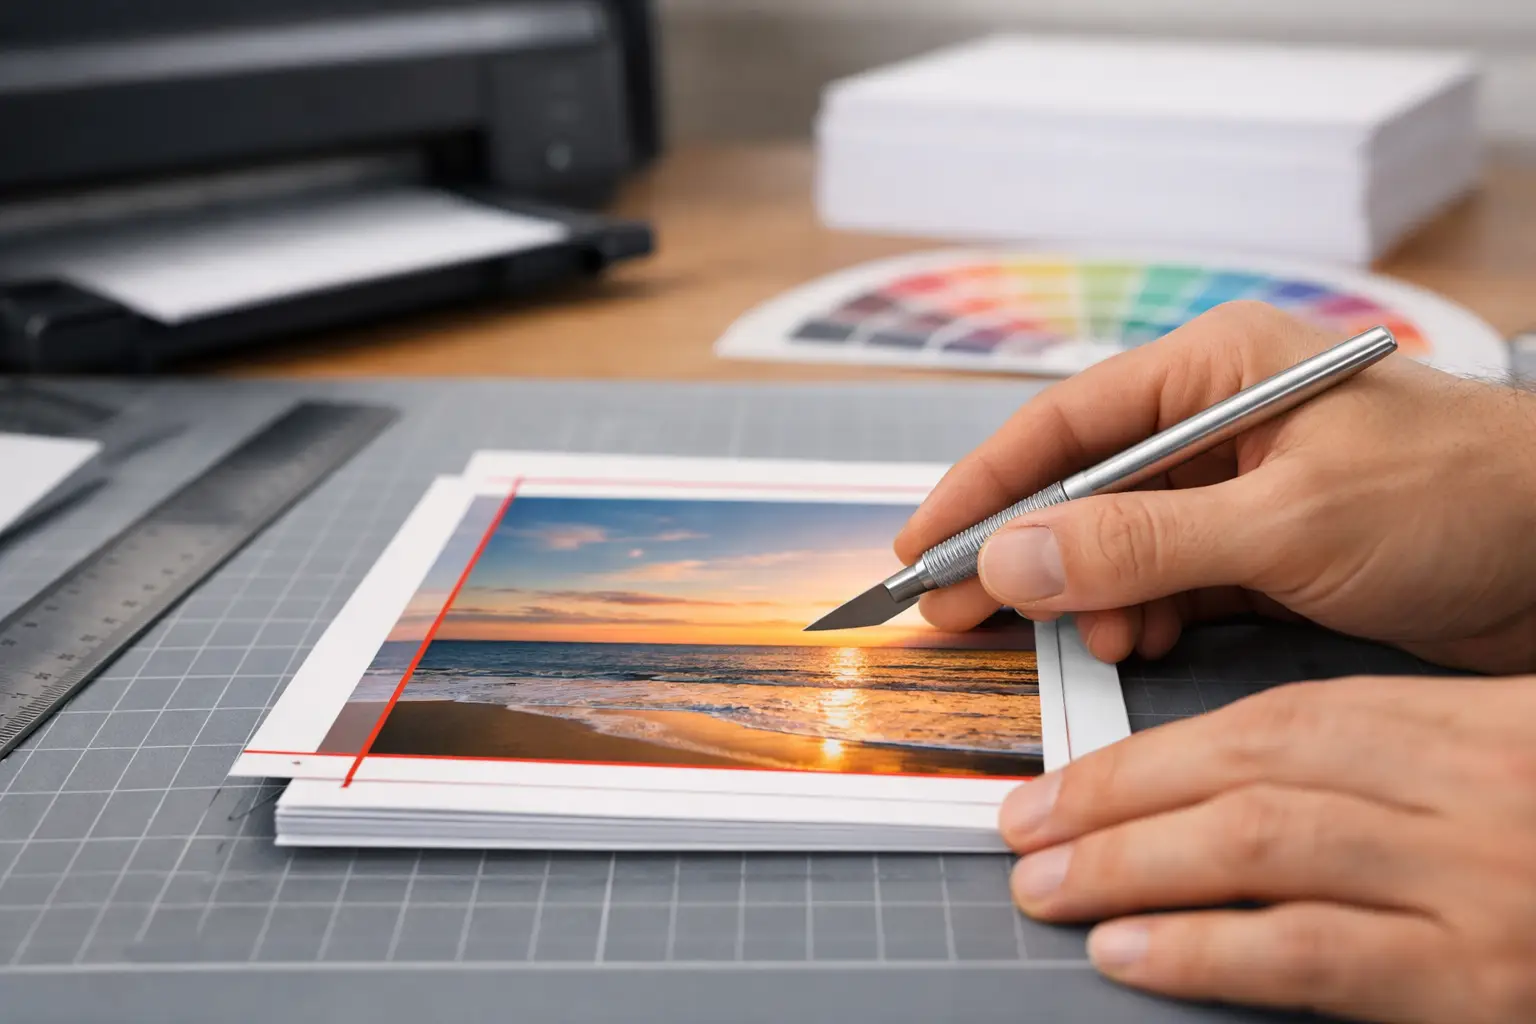
Bleed is not actually part of the finished product. It is the portion of your background color, photo, pattern, or graphic that extends past the trim line, which is where the printer will cut the piece to its final size.
Commercial cutting equipment is highly accurate, but no physical trim process can guarantee a cut at the exact same microscopic point every time. A small tolerance is normal. Without extra artwork beyond the cut line, even a slight shift can reveal a thin white border from the paper stock. Bleed gives the cutter a cushion.
In most commercial print projects, the standard bleed allowance is 0.125 inch, or one-eighth of an inch, on every side. A standard 8.5 x 11 inch flyer with bleed should therefore be supplied at 8.75 x 11.25 inches. Once trimmed, the finished flyer remains 8.5 x 11 inches.
Bleed margins are needed only when artwork reaches an edge. If your design has a white background and all text, photos, and graphics sit comfortably inside the page, bleed may not be necessary. But a solid color background, edge-to-edge photo, colored border, or graphic touching the edge should extend through the bleed area.
Bleed, Trim, and Safe Area: The Three Lines That Matter
Print-ready files are easier to build when you understand the three zones involved. They serve different purposes, and mixing them up is one of the most common causes of production delays.
The bleed area
The bleed area sits outside the final document size. It contains extra background artwork that will be cut away. Do not place critical information here, because none of it is guaranteed to remain after trimming.
The trim line
The trim line is the final edge of the finished product. For example, a 4 x 6 postcard is trimmed to 4 x 6 inches, even though the submitted file is usually 4.25 x 6.25 inches with standard bleed.
The safe area
The safe area is inside the trim line. Keep important text, logos, QR codes, phone numbers, and key parts of images away from the edge. A common working rule is to keep them at least 0.125 inch inside the trim line, though 0.25 inch can provide more visual breathing room on small-format pieces.
Think of it this way: bleed is extra artwork that gets removed, trim is the intended final edge, and the safe area protects what must stay visible. A border that runs close to the edge needs special care because even a minor trim variation can make it look uneven. When possible, use a wider border or avoid borders entirely.
Why Bleed Matters for Business Print Materials
Bleed matters because your printed material is often judged before it is read. A clean edge on a business card, brochure, postcard, or rack card reinforces the quality of the brand behind it. An accidental white line can make a premium design feel unfinished.
This is especially relevant for convention and event printing. A handout that promotes a product launch, a trade show postcard placed at a booth, or a menu distributed during a hospitality event has to look right under close inspection. High-contrast backgrounds and dark colors make trimming inconsistencies more visible, which is another reason to build the file correctly from the start.
Large-format work follows the same principle, although the production details can differ. Posters, mounted signs, window graphics, banners, and trade show displays may require bleed, wrap allowance, hems, pole pockets, or other finishing space. A banner that will be hemmed, for example, needs important content positioned away from the edge so it is not folded into the finishing area. The correct setup depends on the product and how it will be installed.
How to Set Up Bleed Correctly
The best time to add bleed is at the beginning of the design process. Most professional design programs allow you to set a document bleed when creating the file. Set it to 0.125 inch on all sides unless your printer provides a different specification for the product.
After setting the bleed, extend all edge-to-edge elements beyond the trim line. If a blue background reaches the edge, pull that blue background through the bleed area. If a photograph reaches the edge, enlarge the photo enough that it fills the bleed area as well. Do not simply add white space around the design and label it bleed.
Before exporting, review the document at 100 percent size. Confirm that background elements extend beyond the trim line and that text remains in the safe area. Then export a high-resolution PDF using the appropriate press-quality settings, including crop marks only when requested. Crop marks can help identify the trim location, but they do not replace bleed.
If you are working in a template, check whether its displayed outer boundary represents the bleed size or the final trimmed size. Templates vary. A file can be technically the correct overall dimensions and still fail if the artwork stops at the trim line.
Common Bleed Mistakes That Cause Reprints or Delays
The most common mistake is submitting a file at the final trim size when the design has color or imagery touching the edge. A 3.5 x 2 inch business card with a full-bleed background should normally be built at 3.75 x 2.25 inches, not at the finished card size.
Another issue is treating the bleed as a safe place for text. A website address placed in the bleed can be cut off. Even copy placed directly on the trim line may look too close to the edge after production. Keep critical elements inside the safe area, especially on cards, labels, postcards, and other small pieces where every fraction of an inch is noticeable.
Low-resolution artwork is a separate but related problem. Adding bleed by stretching a small web image outward can make the image look soft or pixelated. Use high-resolution source files and make sure photos are suitable for the final printed size before expanding them into the bleed.
Finally, do not assume every file needs identical specifications. Standard brochures and flyers commonly use 0.125-inch bleed, while folded pieces, die-cut labels, packaging, large-format graphics, and specialty finishing can require different allowances. A rushed job can still be produced quickly when the production requirements are confirmed early.
When You May Not Need Bleed
Not every job needs bleed. Documents that are designed with white paper margins around all artwork may be printed and trimmed without it. Simple letterhead, forms, black-and-white documents, and some presentation materials often fall into this category.
Still, visual intent matters. If a thin colored rule, image, or patterned background sits close to the edge, adding bleed is usually the safer decision. It protects the design from tiny trimming variations that are far more obvious after printing than they appear on a monitor.
For rush marketing materials, sending a file with correct bleed can save valuable time. It reduces the chance that production must pause for revised artwork, particularly when an event deadline, direct mail drop, or convention setup is approaching.
Get the File Right Before the Deadline Gets Tight
At Design One Printing, file setup is part of producing professional materials on a fast schedule. If you are unsure whether a brochure, postcard, sign, or trade show graphic needs bleed, ask before the job goes to print. A quick review of the finished size, edge-to-edge artwork, and required finishing can prevent avoidable changes later.
The practical rule is simple: when color or imagery goes to the edge, extend it past the edge. That extra one-eighth inch may never be seen in the finished piece, but it is what helps the finished piece look exactly as it should.