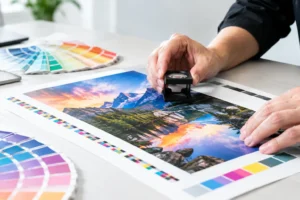
A wall graphic can make a lobby, retail wall, convention booth, or event space look finished in minutes. It can also look rushed just as quickly if it is crooked, wrinkled, or covered in trapped air. To apply wall graphics smoothly, the installation needs to start before the graphic ever touches the wall. Surface condition, room temperature, material choice, and alignment all affect the final result.
For Las Vegas businesses and exhibitors, wall graphics are often installed on a deadline – sometimes just before a client meeting, opening, or show floor move-in. A fast installation is possible, but skipping preparation usually costs more time than it saves. The following process helps produce a clean, professional finish that reflects well on the brand behind it.
Start With the Right Wall and Graphic Material
Not every wall is a good candidate for adhesive graphics. Smooth, sealed, painted drywall is generally the easiest surface for vinyl decals and printed wall coverings. Freshly painted walls need adequate curing time, commonly at least two weeks and sometimes longer depending on the paint manufacturer. Applying graphics too soon can cause paint lift during removal or reduce adhesive performance.
Textured walls require a closer look. Light orange-peel texture may work with a high-tack or textured-wall film, but deep texture, brick, concrete block, and uneven surfaces need specialty materials and installation methods. Standard removable vinyl may only adhere to the high points of a heavily textured wall, leaving an inconsistent appearance and edges that lift early.
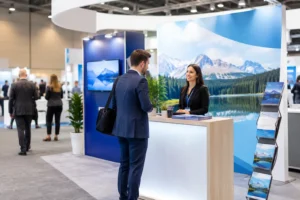
Material selection should match the job. A short-term promotional message in a retail space may call for removable vinyl. A long-term office feature wall may need a more durable film or printed wall covering. For convention displays and temporary activations, low-tack materials can reduce the risk of wall damage during teardown. The trade-off is that low-tack films may not hold well on difficult surfaces.
Before production, confirm the wall dimensions, the finish, and whether the graphic needs to be removable. These details help prevent the common last-minute problem of having a beautiful print that is wrong for the installation surface.
Prepare the Surface Before You Apply Wall Graphics Smoothly
A clean wall is non-negotiable. Dust, hand oils, cleaning-product residue, and silicone-based sprays can interfere with adhesion. Even a wall that looks clean may have enough residue to cause a corner to lift after installation.
Use a clean, lint-free cloth and an appropriate surface cleaner. Isopropyl alcohol diluted with water is often suitable for sealed, nonporous painted surfaces, but test an inconspicuous area first. Avoid cleaners that leave a waxy or scented residue. Let the wall dry completely before installation.
Temperature matters as well. Most pressure-sensitive graphics apply best in a moderate indoor environment. An overly cold wall can reduce initial tack, while excessive heat can make some films stretch too easily during application. If the graphic has been stored in a hot delivery vehicle or a cold loading area, let it acclimate in the installation space before unrolling it.
Inspect the wall under direct light. Look for chipped paint, uneven patches, screw heads, dents, and old adhesive. Wall graphics will not hide every flaw. In fact, large solid-color prints and glossy finishes can make imperfections more visible. Repair and dry the surface first if presentation quality is a priority.
Measure, Mark, and Dry Fit the Graphic
The most visible installation mistake is poor alignment. A graphic can be perfectly smooth and still look unprofessional if it sits even slightly off level next to a door frame, ceiling line, or adjacent panel.
Measure the installation area from a fixed reference point, not just from the floor. Floors and ceilings are not always level, especially in older buildings, event venues, and temporary exhibit spaces. Use a level, laser level, or straight-edge guide to establish the true horizontal or vertical line.
For a single decal, place small, removable pieces of painter’s tape along the top edge to hold the graphic in position. Step back several feet and inspect the placement from the normal viewing angle. For a multi-panel mural, dry fit every panel before exposing adhesive. Confirm the panel order, overlap or butt-seam instructions, and image match.
This is also the right time to check surrounding elements. Make sure the graphic clears outlet covers, light switches, furniture, shelving, sprinkler access, and booth hardware. Cutting around obstructions after installation can be done, but it is cleaner and safer when planned before application.
Use a Hinge Method for Controlled Placement
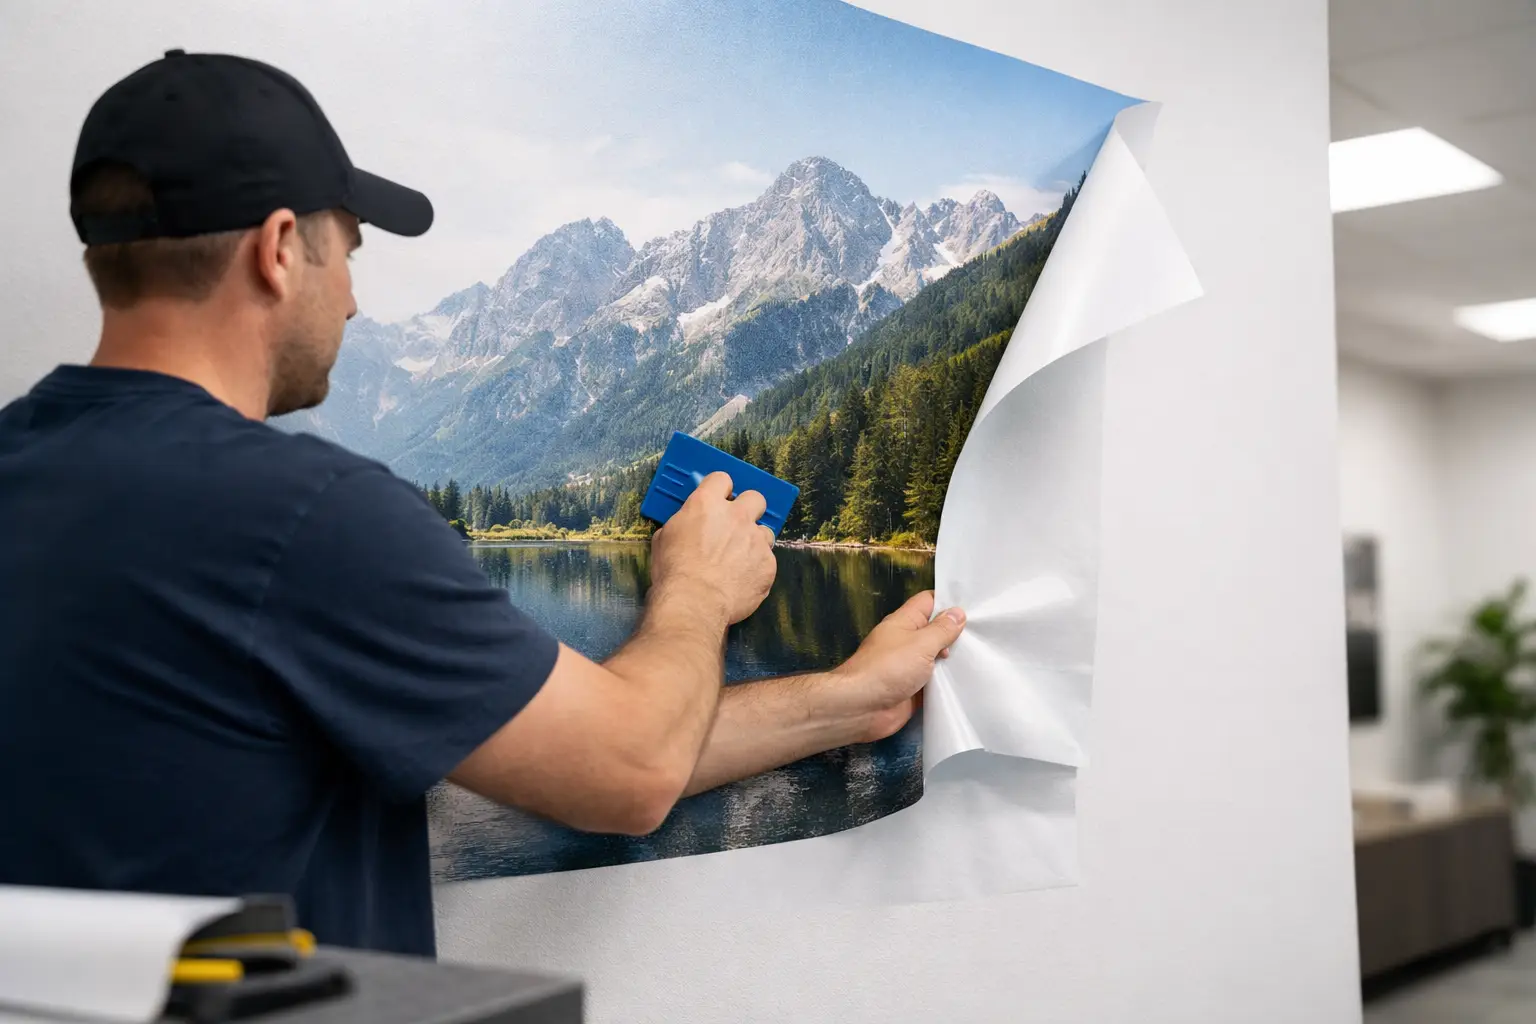
For most medium and large wall graphics, the hinge method provides the control needed for a straight installation. Once the graphic is aligned with painter’s tape, create a horizontal hinge across the upper portion of the print. The tape holds the graphic in place while you work below it, preventing it from drifting as the liner is removed.
Lift the bottom section of the graphic upward and peel away a manageable amount of backing paper. Do not remove the entire liner on a large piece at once. Exposed adhesive can grab the wall too early, fold onto itself, or collect dust.
With a felt-edge squeegee, apply the graphic from the center outward using firm, overlapping strokes. Work gradually downward, peeling more liner as you go. The goal is to press the adhesive evenly into the wall without stretching the film.
For smaller decals, a top hinge can work well. Tape the top edge, fold the decal upward, remove the liner, then lower and squeegee it into place. The best method depends on the size and shape of the piece, but controlled liner removal is always better than trying to handle a fully exposed large-format print.
Keep Tension Light and Consistent
Pulling vinyl tight may seem like a way to eliminate wrinkles, but over-stretching creates its own problems. The graphic can distort, pull away from the wall later, or shrink back around cut edges. Hold the material with light, even tension and let the squeegee do the placement work.
If the graphic starts to wrinkle, stop immediately. Gently lift only the affected section and reapply it before pressing farther. Trying to force a wrinkle flat with extra pressure can leave a permanent crease.
Remove Air Bubbles Without Damaging the Print
Small bubbles happen, particularly with larger graphics. Many minor air pockets dissipate over time as the adhesive settles, especially with breathable wall films. Larger bubbles should be addressed during installation while the material is still easy to reposition.
First, try working the air toward the nearest edge with a felt-edge squeegee. Use short, deliberate strokes rather than aggressive scraping. If the bubble is isolated and will not move, a very small pinhole at the edge of the bubble can release the air. Press the film flat afterward with the squeegee.
Use this technique sparingly. Excessive puncturing can be noticeable under direct lighting and may invite dirt into the adhesive edge. If there are multiple persistent bubbles, the issue may be surface contamination, excessive wall texture, or the wrong film for the application rather than a simple installation error.
Handle Corners, Seams, and Edges With Extra Care
Edges and seams are where a wall graphic often succeeds or fails over time. After the main field of the graphic is installed, go back over all outside edges with firm squeegee pressure. Pay close attention to corners, areas near HVAC airflow, and places people may brush against frequently.
For multi-panel graphics, follow the manufacturer’s seam specification. Some materials require a slight overlap to prevent gaps as the film relaxes. Others are designed for butt seams, where panels meet edge to edge. Do not assume that every mural installs the same way. An incorrect seam approach can produce visible white lines, image mismatch, or lifted edges.
If a panel wraps around an outside corner, apply the face of the panel first and work around the corner gradually. Avoid forcing the film sharply around a rough corner or unsealed drywall edge. On inside corners, allow the material to settle into the angle with measured pressure rather than stretching it across the recess.
Know When Professional Installation Is the Better Business Decision
A small logo decal on a smooth office wall is usually manageable for an in-house team. A full lobby mural, a textured-wall graphic, or a multi-panel branded installation is different. The cost of a mistake can include reprints, wall repair, delayed opening, and an inconsistent customer-facing result.
Professional support is especially worthwhile when graphics must be installed after hours, coordinated with a trade show schedule, matched across several locations, or placed high on a wall. At Design One Printing, wall graphic projects can be evaluated with the surface, size, intended duration, and deadline in mind before production begins.
Before leaving the installation area, inspect the graphic from several angles and under the room’s normal lighting. Press every edge once more, remove application tape carefully, and keep the space free from moisture and heavy contact while the adhesive settles. A few extra minutes at the wall can protect the polished look your business needs when the doors open.