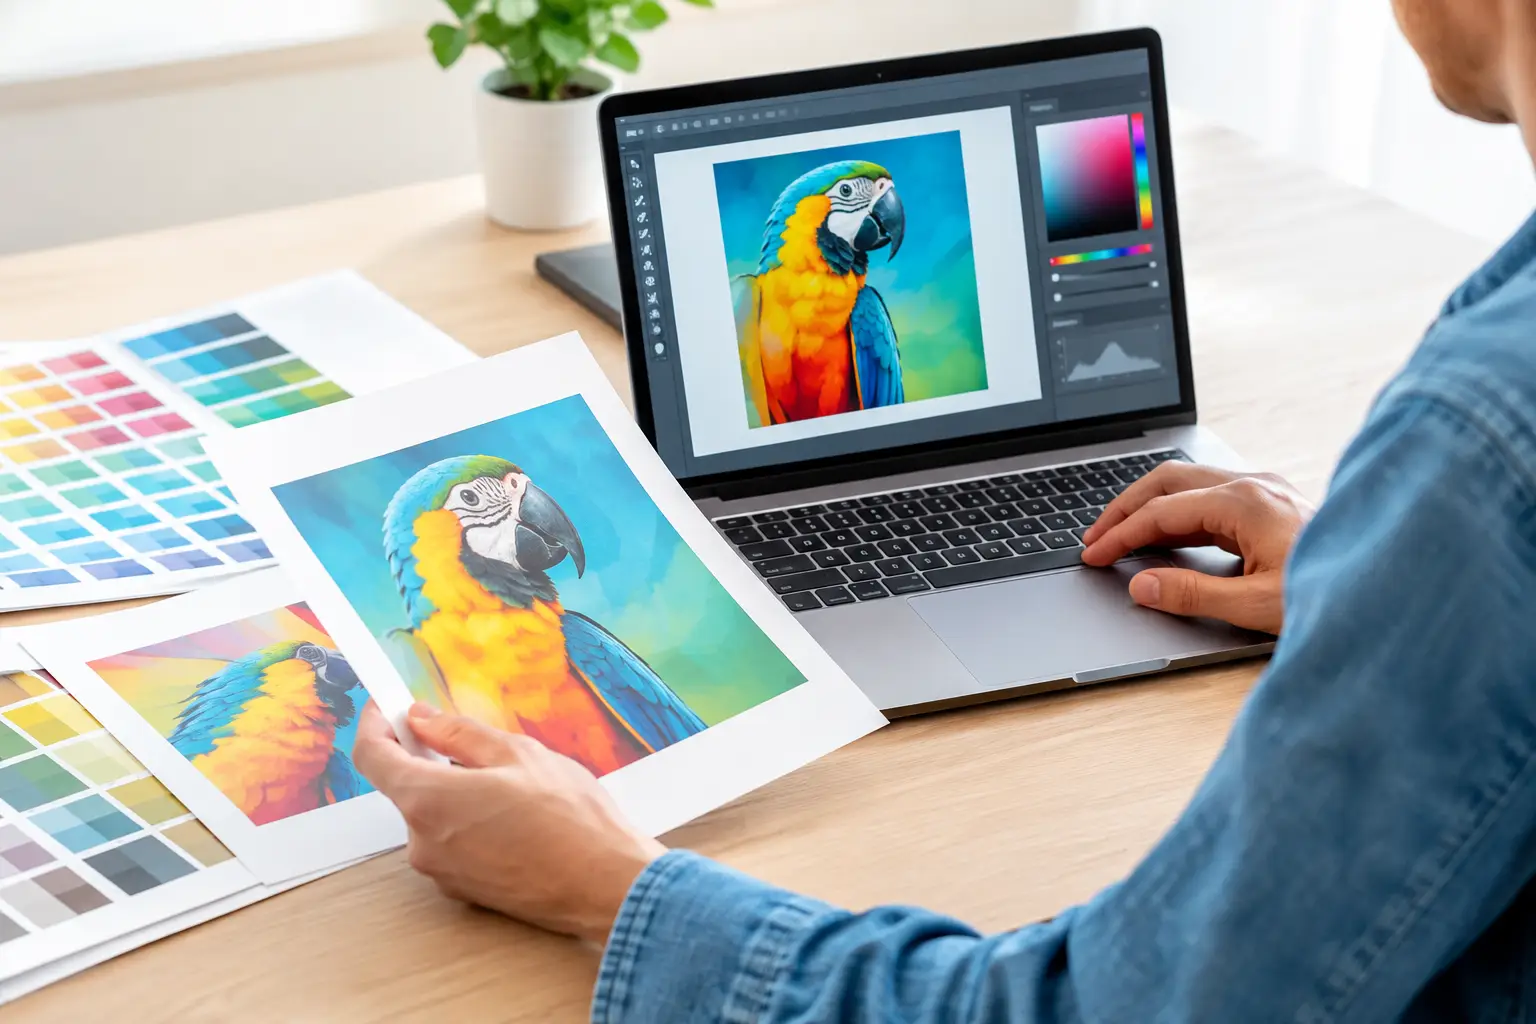
A banner can look perfect on screen and still print with a white edge, blurry logo, or unexpected color shift. The difference is usually in the setup. When you prepare artwork files correctly before sending them to print, production moves faster, revisions stay manageable, and your finished materials are ready to represent your business the way they should.
For Las Vegas businesses, exhibitors, and event teams working against a show opening or campaign deadline, a press-ready file is more than a technical detail. It helps prevent delays when there is little room in the schedule. Use this guide before submitting business cards, brochures, postcards, banners, posters, signs, stickers, or trade show graphics.
Prepare Artwork Files at the Final Printed Size
Build your document at the actual finished size whenever possible. A 24 x 36-inch poster should be created as 24 x 36 inches, while an 8.5 x 11-inch flyer should start at 8.5 x 11 inches. Designing at the correct size gives you a reliable view of type scale, image quality, margins, and layout.
Large-format work is the main exception. A wall graphic or oversized backdrop may be designed at a reduced scale to keep the file manageable. If you work at half scale, tell the print team clearly and keep that scale consistent throughout the file. A 50% scale document needs images and effects prepared with the final output size in mind.
Avoid relying on enlargement at the last minute. Vector logos and text can scale cleanly, but low-resolution photos cannot. Enlarging a small web image for a booth backdrop often creates visible pixelation, especially under event lighting and at close viewing distance.
Add Bleed and Keep Critical Content Inside the Safe Area
Print pieces that are trimmed after production need bleed. Bleed is extra background image or color that extends beyond the final cut line. It prevents thin white slivers from appearing at the edge if trimming shifts slightly, which is a normal tolerance in commercial finishing.
For most standard printed marketing materials, use an 1/8-inch bleed on every side. A standard 4 x 6-inch postcard with bleed should therefore be set up at 4.25 x 6.25 inches. Large-format products and custom-cut items can have different requirements, so confirm the specification before building the file.
Just as important is the safe area. Keep logos, phone numbers, QR codes, borders, and important text at least 1/8 inch inside the final trim edge. For signs, banners, and materials with hems, grommets, frames, or hardware, leave more space. A full-color background can run to the edge, but a website address should not sit where it may be trimmed, folded, or covered by finishing hardware.
Use Print-Ready Images and Color Settings
Screen graphics are typically built in RGB, while commercial print often uses CMYK inks or a production-specific color workflow. RGB files can be converted for print, but bright screen colors may not reproduce exactly. Electric blues, vivid greens, and fluorescent tones are especially likely to change.
Set color intentionally rather than assuming every monitor matches the press. For brand-sensitive work, use approved CMYK values or specified spot colors when they are available. If a particular brand color is non-negotiable, ask about color matching before the job is produced. The best approach depends on the product, quantity, substrate, and deadline.
Photographs should generally be 300 DPI at their final printed size for brochures, business cards, and other close-viewed pieces. Large-format graphics can often use a lower effective resolution because people view them from farther away. That does not make any low-resolution image acceptable. A small social media image is rarely suitable for a retractable banner or oversized window graphic.
Do not judge resolution by file size alone. A 10 MB image may still be low quality if it has been enlarged, compressed repeatedly, or pulled from a website. Check the image’s pixel dimensions against its placed size in the layout.
Keep Type, Logos, and QR Codes Production-Safe
Text that looks readable on a laptop can become difficult to read once printed small, placed over a busy photo, or viewed from across an aisle. Use enough contrast between type and background, and avoid thin fonts for reversed white text or small copy. Fine lines and delicate typefaces may fill in or break up depending on the stock and printing method.
Use vector files for logos whenever possible. AI, EPS, SVG, and press-ready PDF logo files stay sharp at nearly any size. If you only have a JPG or PNG logo, inspect it at the final output size before approving it for a sign or display.
QR codes need clear space around them and enough physical size to scan easily. Test the code from a phone after exporting the final PDF, not just inside the design program. For event signage, make the code large enough for the distance where attendees will encounter it.
Check Fonts, Transparency, and Linked Images
Missing fonts and missing image links are common causes of production problems. If you send an editable design file, package the document so fonts and linked images travel with it. Better yet, submit a high-quality PDF along with the source file when a fast revision may be needed.
Converting text to outlines can prevent font substitution, but it also makes text harder to edit. That trade-off is acceptable for final approved artwork, especially for logos or files that will not change. Keep an editable copy with live text for your own records.
Transparency effects, shadows, gradients, and blend modes can sometimes render differently depending on the software and export setting. Review the exported PDF closely. If a drop shadow disappears, a transparent object prints as a box, or a gradient shows banding, fix it before production instead of expecting the press operator to guess the intended result.
Export a PDF Built for Commercial Printing
A print-ready PDF is usually the most dependable file format for finished artwork. It preserves layout, embeds or handles fonts correctly, and gives production a clear reference point. Use your design software’s high-quality print or press-quality PDF setting rather than a small-file or web-optimized export.
Before sending the PDF, confirm that bleed is included and crop marks are used only when requested. Crop marks can help in some workflows, but oversized or improperly placed marks can interfere with certain large-format or custom layouts. The final file should contain only the pages and artwork intended for production.
If your project contains multiple pages, verify the page order, orientation, and total page count. Brochures, booklets, direct mail pieces, and presentation folders may require a specific panel layout or folding setup. A six-panel tri-fold is not simply three pages placed side by side. Panel widths may need adjustment so the fold closes properly.
Run This Final Preflight Before You Send
A brief preflight catches most avoidable errors. Before submitting, review these production details:
- Final size matches the product you ordered.
- Bleed is included where trimming is required.
- Important content stays inside the safe area.
- Images are sharp enough at final output size.
- Colors, spelling, dates, prices, and phone numbers are approved.
- QR codes, web addresses, and contact information have been tested.
- The PDF opens correctly and contains the right pages.
This review matters most when the piece supports a time-sensitive event. A single wrong booth number on a flyer or outdated show date on a banner can cost more time than any design correction.
When to Ask for File Help
Not every file needs to be perfect before it reaches the printer. If you are replacing a damaged banner the day before a convention, adapting an old postcard, or working from a logo that only exists as a low-resolution image, send what you have early. A production team can often identify the risk, recommend the best available option, or rebuild a piece when time allows.
The right solution depends on your deadline and the visibility of the finished piece. A minor image limitation may be acceptable on a small handout, while the same image could be a problem on a 10-foot display. Design One Printing can review files with the finished product, installation method, and turnaround requirement in mind.
A few minutes spent checking size, bleed, resolution, and final copy can keep a rush order moving. Send the clearest final file you can, share the intended use, and give the production team enough context to help your printed materials arrive ready for the moment they matter.