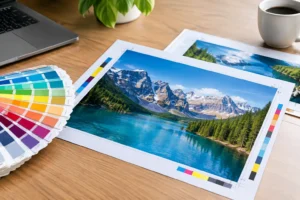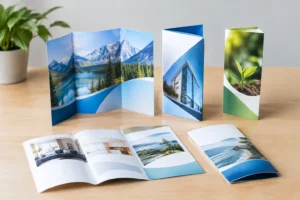
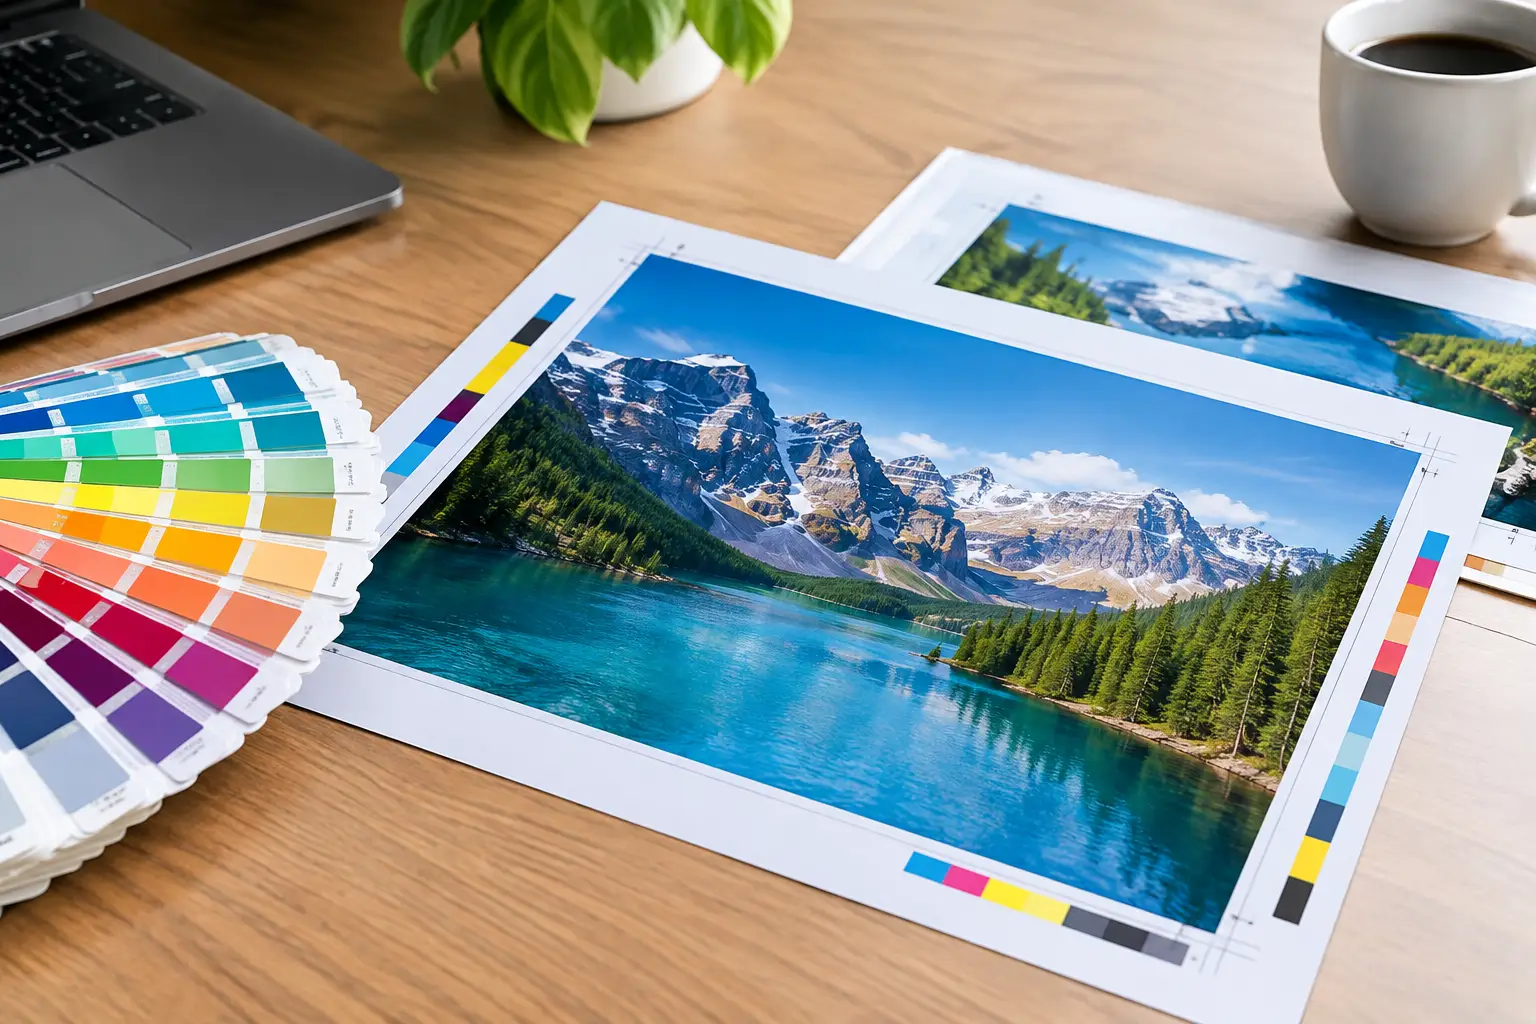
A file can look perfect on screen and still produce an unwanted white edge after trimming. That usually means the bleed was missing, too small, or not set up correctly. This print bleed setup guide explains how to prepare marketing materials for commercial production so business cards, brochures, postcards, event graphics, and signage trim cleanly and look intentional.
For Las Vegas businesses working toward a trade show opening, grand opening, direct mail drop, or next-day event deadline, correcting bleed before production prevents avoidable delays. It is a small setup step with a major effect on how polished the finished piece looks.
What Print Bleed Is and Why It Matters
Bleed is the extra image area that extends beyond the final trim size of a printed piece. Printers print a larger sheet, then cut it down to its finished dimensions. Because cutting equipment has a slight tolerance, artwork that stops exactly at the trim line can leave a narrow white sliver along one edge.
Extending background colors, photos, patterns, and other edge-to-edge artwork beyond the trim line gives the cutter room to work. After trimming, the extra area is removed, leaving color or imagery running cleanly to the edge.
Think of a 4 x 6-inch postcard with a full-color photo background. The final card is still 4 x 6 inches, but the production file needs to be larger so the photo continues past all four sides. Bleed is not an optional design effect. It is production allowance.
Standard Print Bleed Setup Guide: The 0.125-Inch Rule
For most commercial print products, use 0.125 inch, or one-eighth inch, of bleed on every side. A finished 4 x 6-inch postcard becomes a 4.25 x 6.25-inch file. A standard 3.5 x 2-inch business card becomes 3.75 x 2.25 inches.
This standard works well for flyers, postcards, brochures, rack cards, folders, presentation materials, stickers, and many other sheet-fed products. If your artwork has a background or image touching only one edge, bleed is needed on that edge. In practice, it is usually best to build the file with bleed on all sides from the start.
Large-format printing can be different. Banners, mounted signs, wall graphics, vehicle graphics, and trade show displays may need additional material for hemming, pole pockets, mounting, panel overlap, or hardware. A retractable banner stand, for example, may require extra image area at the bottom where the graphic rolls into the base. Do not assume the standard one-eighth inch is enough for every wide-format application.
When a project involves finishing beyond a basic trim cut, confirm the final production specifications before building the file. That is especially useful for rush convention materials, where a correct file keeps the job moving without a last-minute redesign.
Bleed, Trim, and Safe Area Are Not the Same
These three guides serve different purposes, and mixing them up is one of the most common file-preparation mistakes.
The trim line is the final size of the printed piece after cutting. Bleed extends outside that line. The safe area sits inside the trim line and protects important content from being cut too close to the edge.
Keep logos, text, phone numbers, QR codes, legal copy, and key product details at least 0.125 inch inside the trim line. For small items such as business cards and postcards, a slightly larger margin often looks better and gives your content more breathing room. For folded brochures, keep important content farther from folds as well as trims.
A background photo can extend through the bleed. A headline should not. If a business card is trimmed slightly off center, no one will notice a background gradient shifting by a fraction of an inch. They will notice if part of a website address disappears.
How to Set Up Bleed in Common Design Programs
The best time to add bleed is when you create the document. Retrofitting it later is possible, but it can require repositioning images, rebuilding backgrounds, or finding enough photo area to extend past the edge.
Adobe InDesign
When creating a new document, enter 0.125 inch in the Bleed fields. A red guide appears outside the page edge. Extend all edge-to-edge artwork to that red guide, while keeping essential copy within your safe area.
When exporting a PDF, choose a high-quality print preset and select the option to use the document bleed settings. If crop marks are requested, add them only when appropriate for the production workflow. The critical point is that the PDF page size includes the bleed.
Adobe Illustrator
In the New Document window, set bleed to 0.125 inch. If the file already exists, adjust it through Document Setup. Extend backgrounds and images to the bleed guide, then save or export a print-ready PDF using the document’s bleed settings.
Illustrator is often used for logos, signs, decals, and simple marketing layouts. Check linked images carefully. A vector logo stays sharp at any size, but a low-resolution photo will not improve just because it has bleed.
Canva, Microsoft Publisher, and Other Templates
Many online and office-based design tools offer a bleed setting at export. Turn it on, then review the resulting PDF at 100% size. Some templates have backgrounds that automatically extend, while others require you to enlarge the image manually.
Templates can speed up a simple flyer or postcard, but they do not replace a file review. If a design includes custom die cuts, folds, variable data, specialty stock, or a large display format, production requirements may go beyond what a template can show.
Extend Artwork, Not Just the Page Size
Adding 0.125 inch to a document’s dimensions is only half the job. Every element intended to reach the edge must extend into that extra area.
For a solid color background, pull the color box past the bleed guide. For a photo, scale or crop it so it continues beyond the trim. For a border, use caution. A thin border placed close to the edge can look uneven after normal trimming variation, even when bleed is correct.
This is where design choices matter. A full-bleed color field is forgiving. A white border that must appear identical on all four sides is not. If the border is essential to the brand look, make it thicker and keep it farther inside the trim line. Otherwise, consider allowing the background to run to the edge.
Check Images, Colors, and Fonts Before Exporting
Bleed solves trimming issues, but it does not fix every print-quality problem. Before sending a file, review the other production details that affect the finished piece.
Use high-resolution images for small-format print, generally 300 dpi at the final printed size. A photo pulled from a website or enlarged from a social media post may look soft or pixelated in print. For large banners, the right resolution depends on final viewing distance and graphic size, so requirements can vary.
Use CMYK color mode when possible for commercial print. RGB colors created for screens can shift when converted to ink. Bright neon-style greens, intense blues, and highly saturated oranges are common areas where the printed result may differ from a monitor. A proof or color consultation is worthwhile when brand-critical color is involved.
Outline fonts or package them when requested, especially for files built in Illustrator. If the printer does not have the same font, text can reflow or substitute unexpectedly. A press-ready PDF with embedded fonts is usually the safest handoff format.
A Quick Preflight Before You Send the File
Before submitting artwork, open the final PDF rather than reviewing only the source document. Confirm the page dimensions are correct and that the artwork reaches beyond the trim where needed. Zoom in on corners, inspect image quality, and make sure nothing important sits too close to the edge, fold, or perforation.
For multi-page brochures and booklets, verify page order and whether the file should be submitted as individual pages or printer spreads. For direct mail, leave proper room for addressing, postal indicia, and barcode placement. For convention graphics, check the final panel size, hardware template, and any required overlap or installation allowance.
A strong preflight should answer five practical questions:
- Does the PDF include the required bleed on every applicable edge?
- Do all backgrounds and edge-to-edge images extend into that bleed?
- Is critical text safely inside the trim and away from folds?
- Are photos sharp enough at final size and are fonts embedded?
- Does the file match the exact finished size and product specifications?
When You May Not Need Bleed
Bleed is not required when all artwork stays comfortably inside the final trim size and the paper remains visible around the design. A letterhead with a logo positioned well away from the edges, for example, may not need it. The same is true for a simple document with generous white margins.
Still, do not confuse a white background with a white border. If a colored photo or design element touches the edge, it needs bleed. If you want a white border to remain perfectly even, build it as an intentional internal margin, not as the absence of bleed.
Get the File Right Before the Deadline Gets Tight
Fast print production depends on accurate artwork. A file that is correctly sized, includes bleed, and accounts for finishing can move from approval to production much faster than one requiring corrections after submission. That matters when a sales team needs brochures for a meeting tomorrow or an exhibitor needs replacement graphics before the show floor opens.
Design One Printing can help review artwork requirements before production, particularly for custom pieces, large-format graphics, and time-sensitive event materials. Send the intended finished size, product details, and deadline with the file so the production team can identify any setup issue early and keep your project on schedule.